
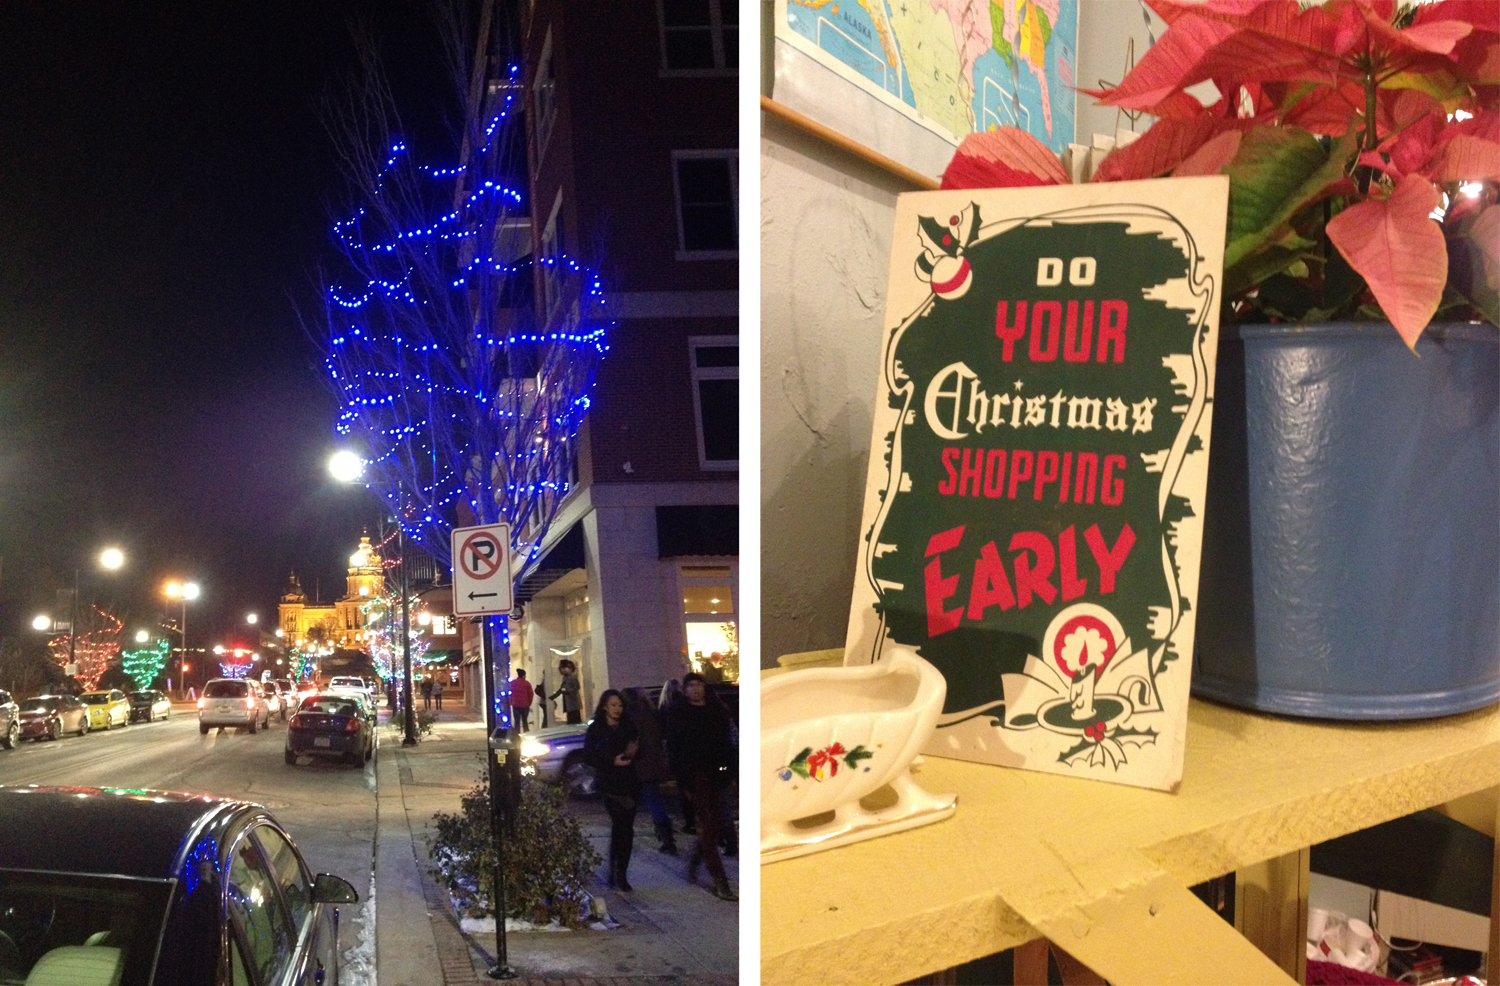
Brrr! That was quite the cold promenade, but I left with this from Eden along with a belly full of gingerbread cookies and warm cider, so it was definitely worth the frigid temps.
On Saturday I tagged along as the Bean went to visit the big guy in the red suit at the mall. She loved him so much – can you tell?
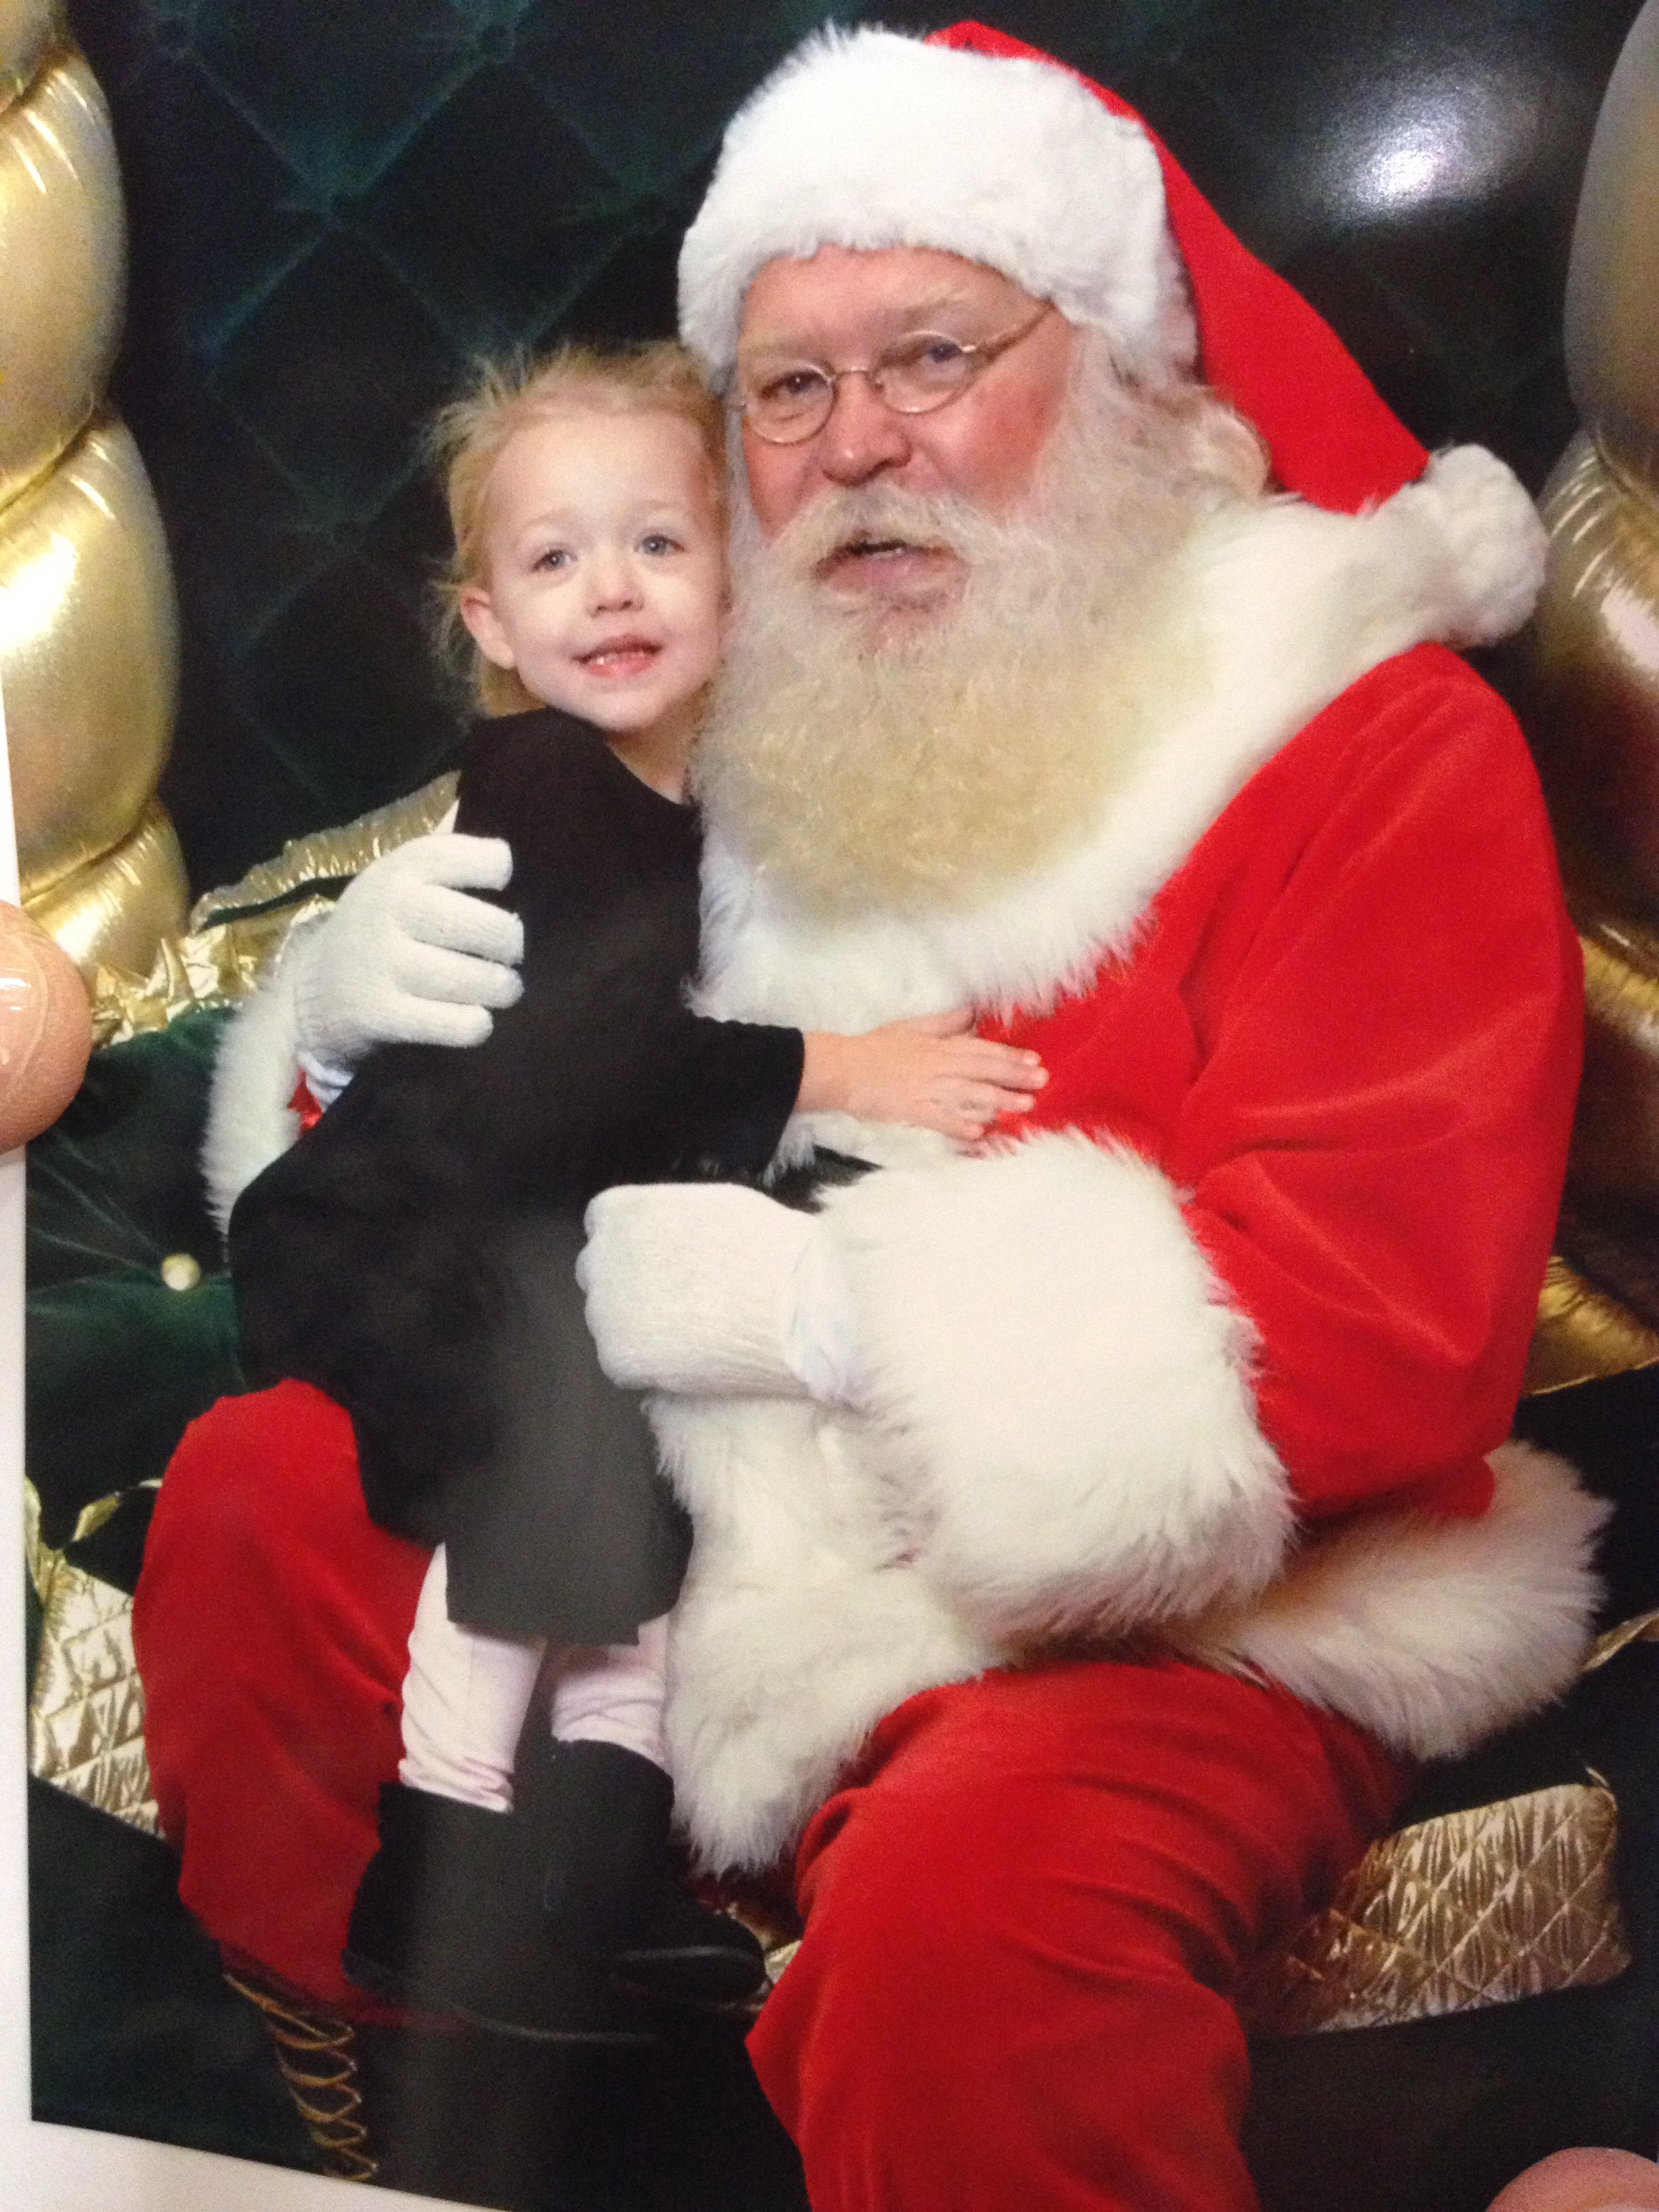 [besties]
In the eve, we snuggled up to a warm fire to watch Christmas Vacation for the thousandth time.
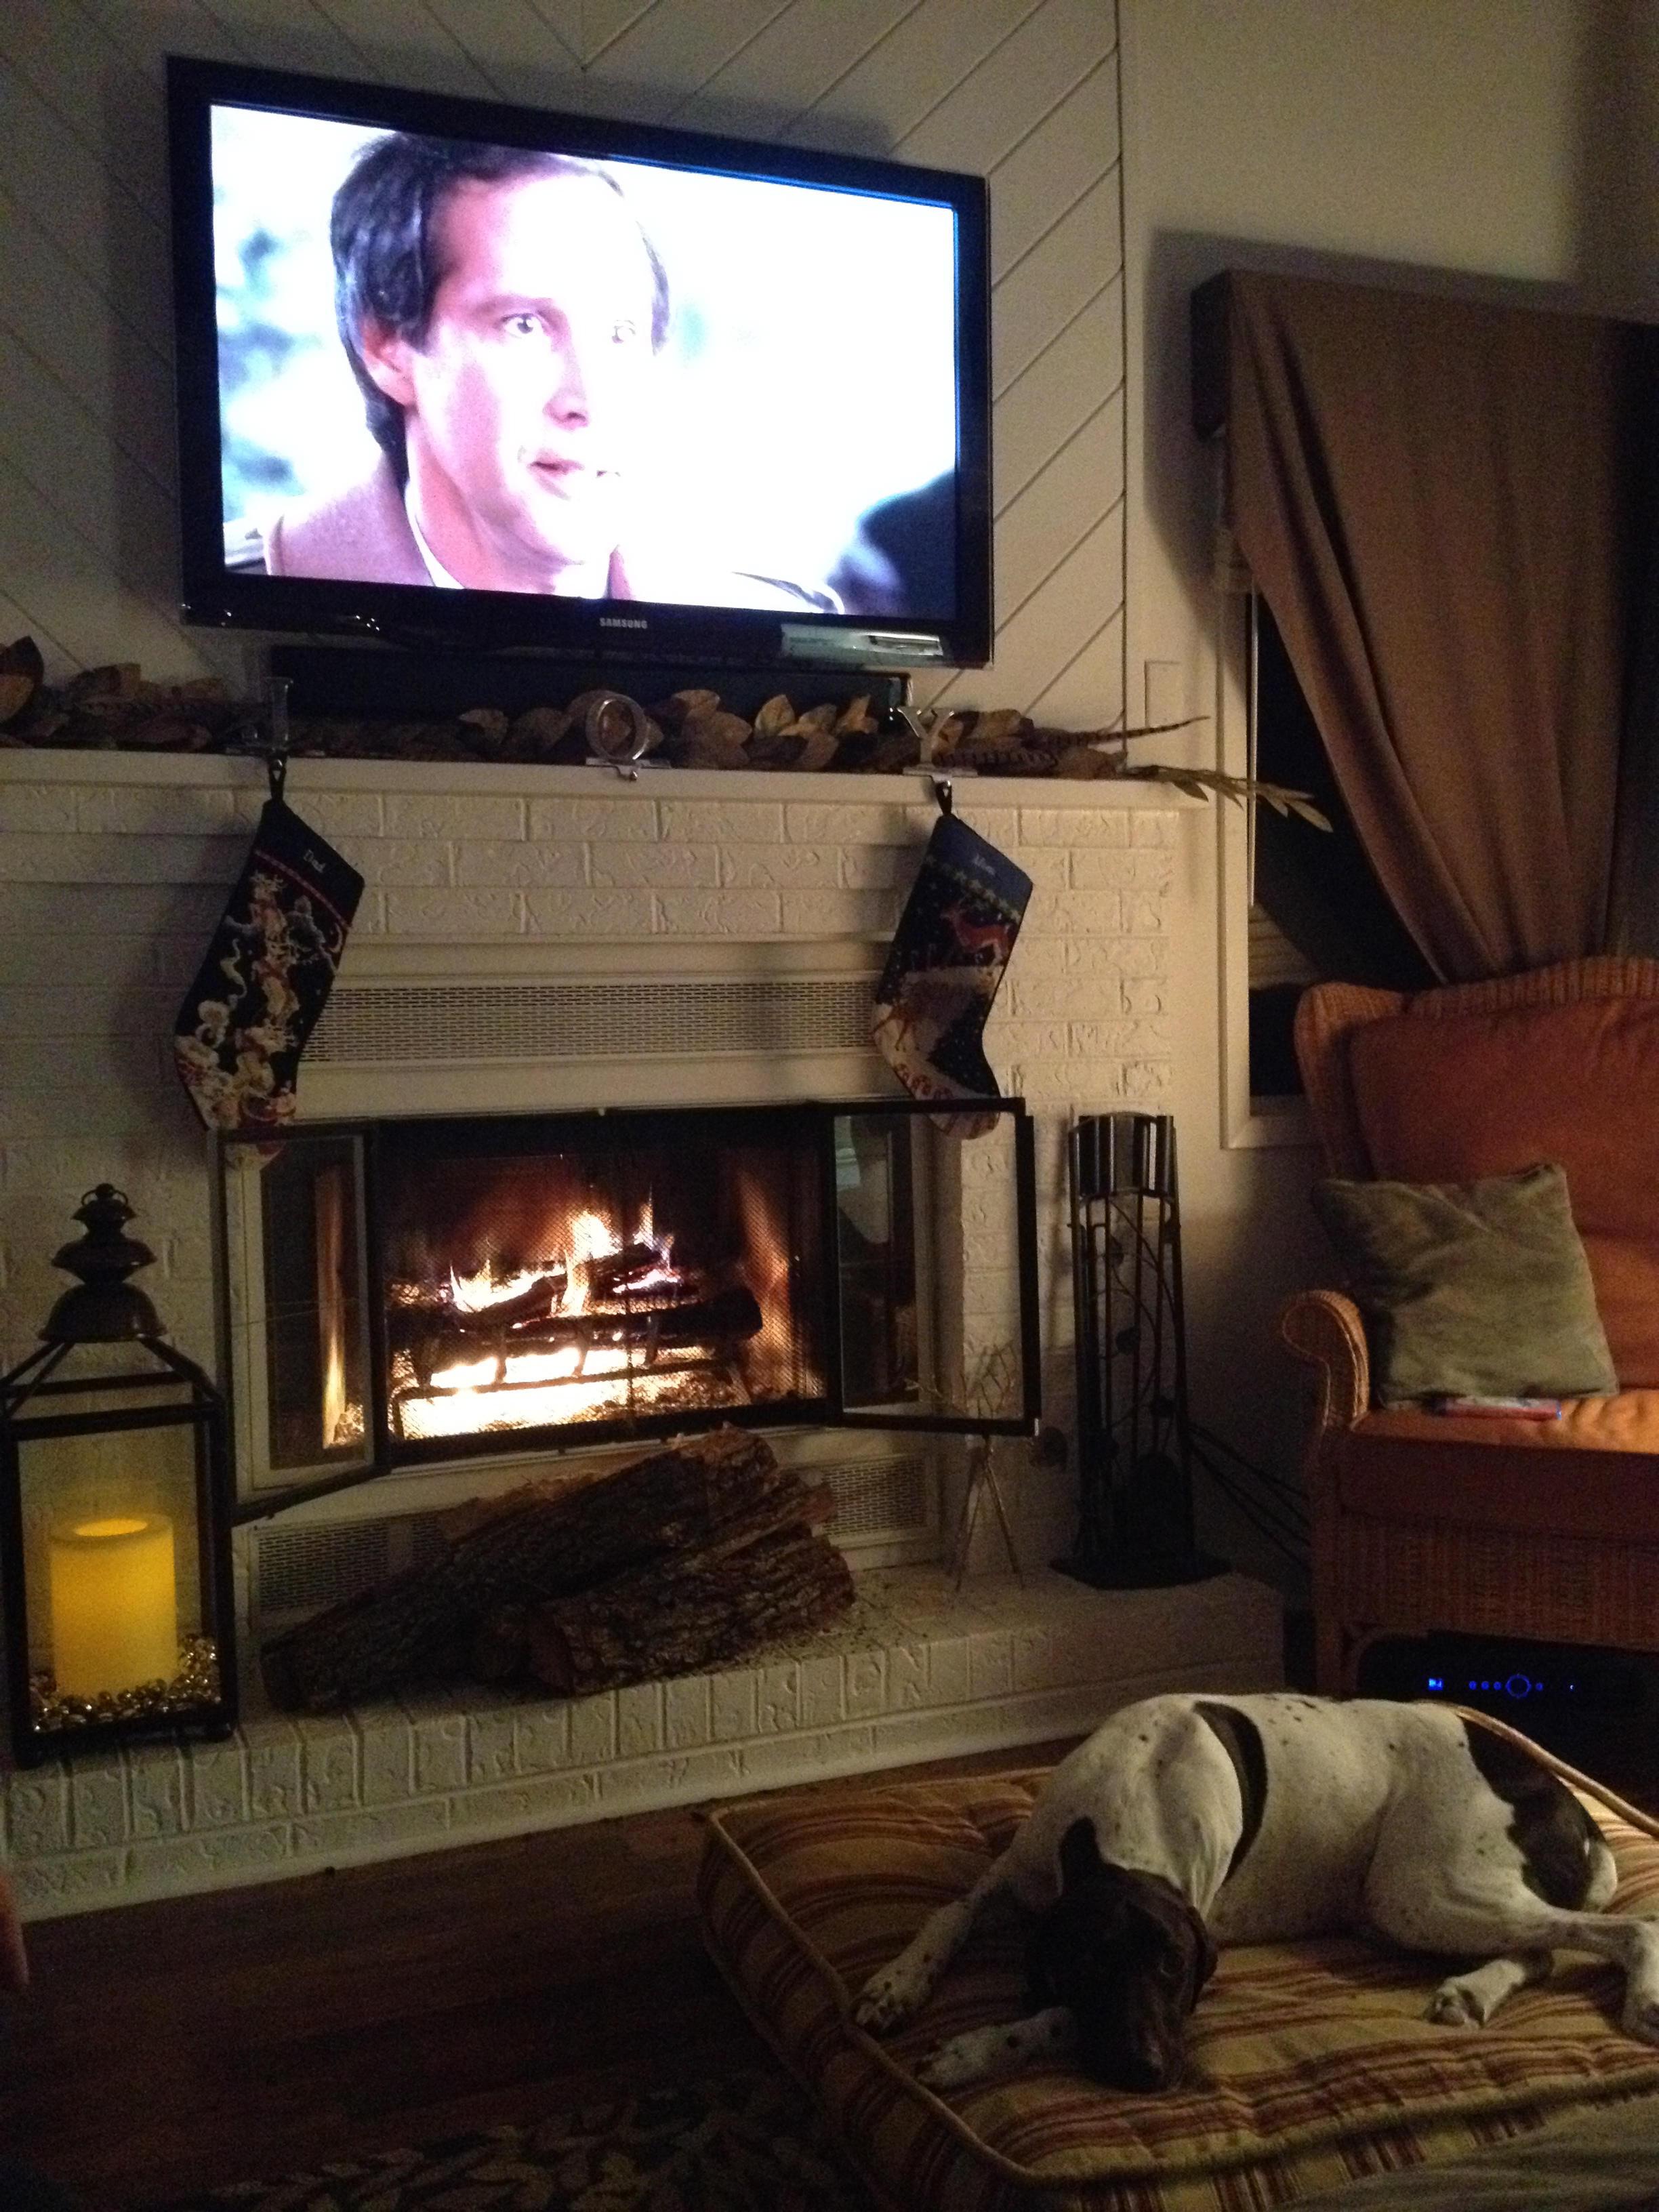 [Karl has it rough, right?]
We are inching ever so close to Baby B’s due date (December 5) and the nesting is in full force. I packed a whole lot into Sunday – see for yourself:
 [Caught an early matinee – love me some Katniss]
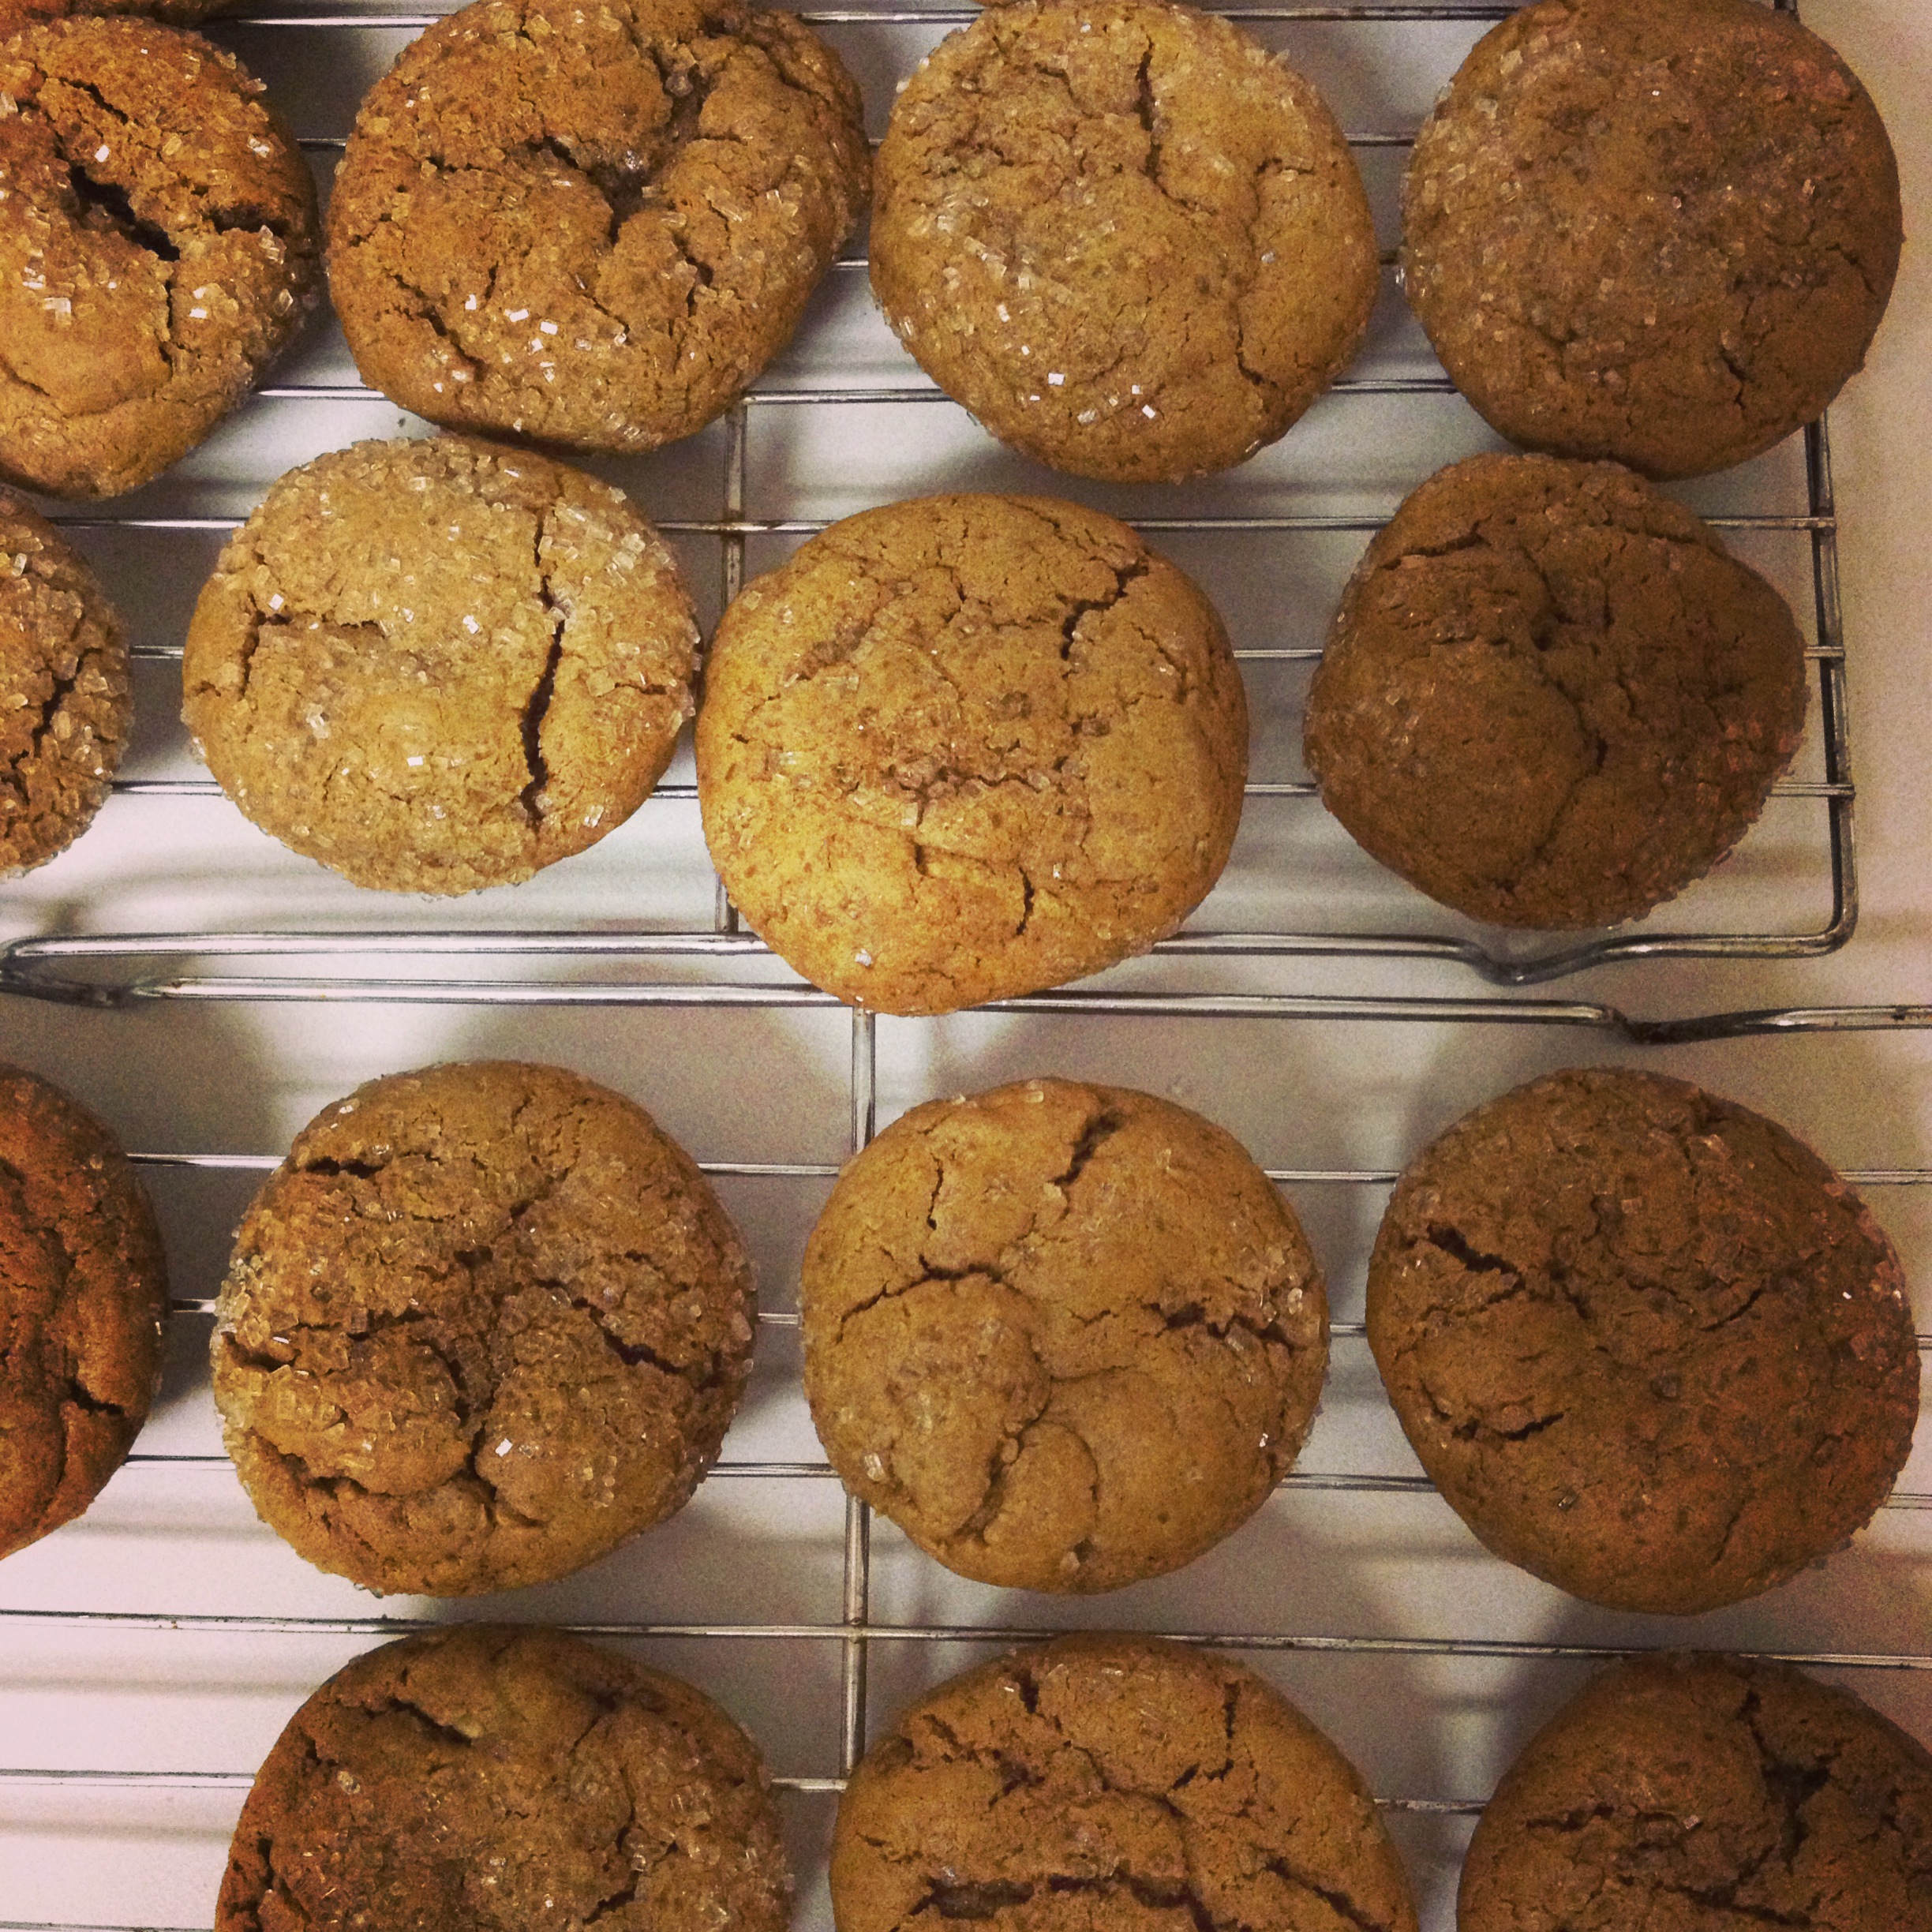 [baked heavenly molasses cookies via Short Order Mom]
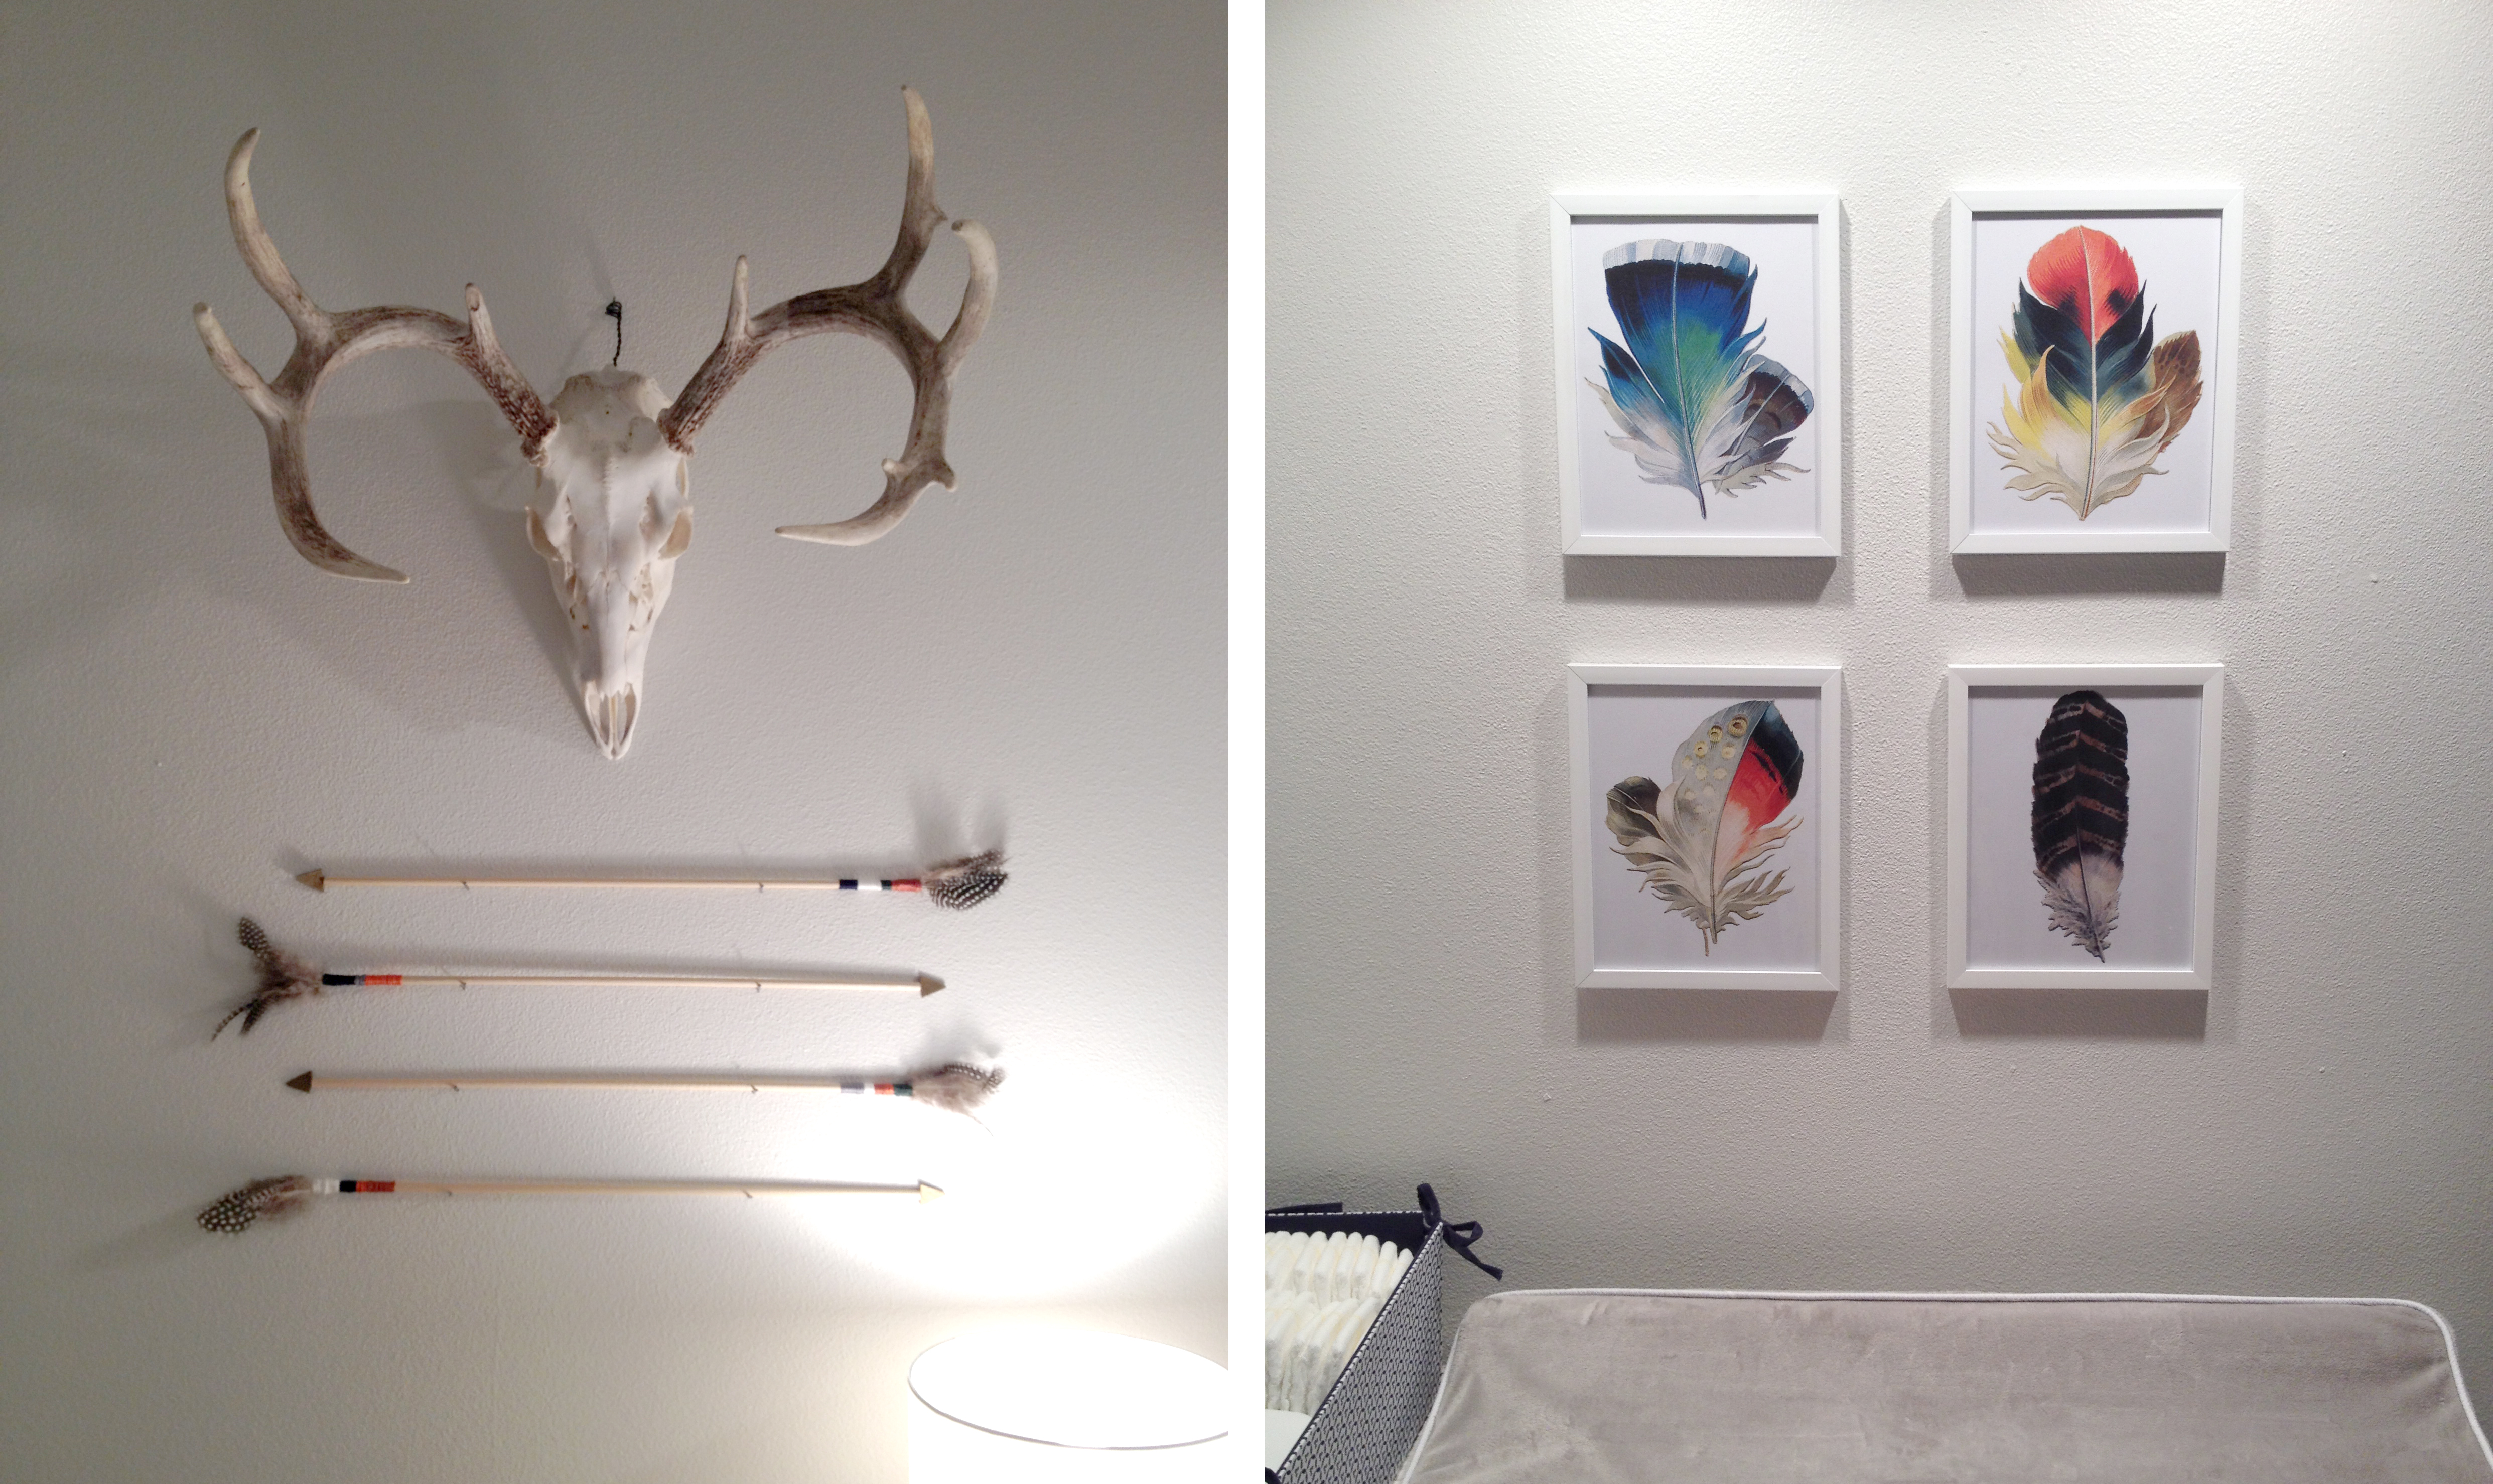 [finally hung the artwork in the nursery]
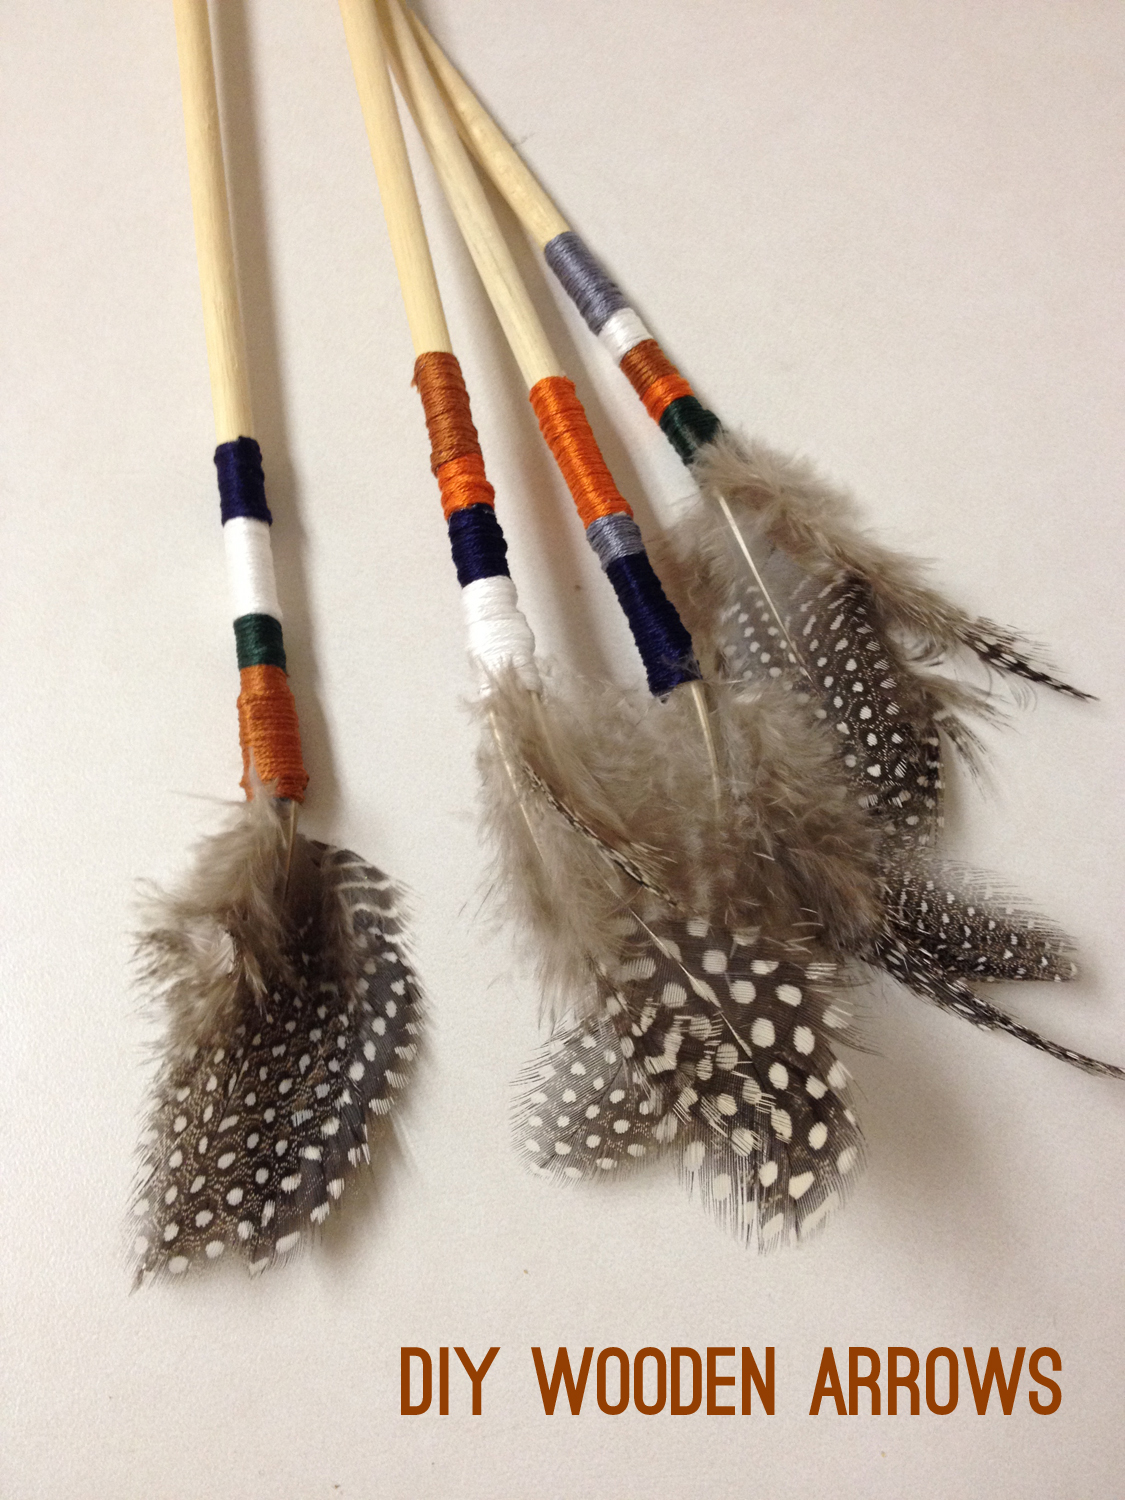
Last but not least, I completed a little project that I’ve been meaning to do for some time – DIY wooden arrows to put up as artwork in the little guy’s nursery. I got the idea from a few different sources (here and here) and made it my own.
Supplies (all purchased via Jo-Ann Fabric and Michael’s):
two 1/4″ dowels
box cutter or x-acto knife
embroidery thread
a pack of feathers
hot glue gun
gold Sharpie
a small wooden star
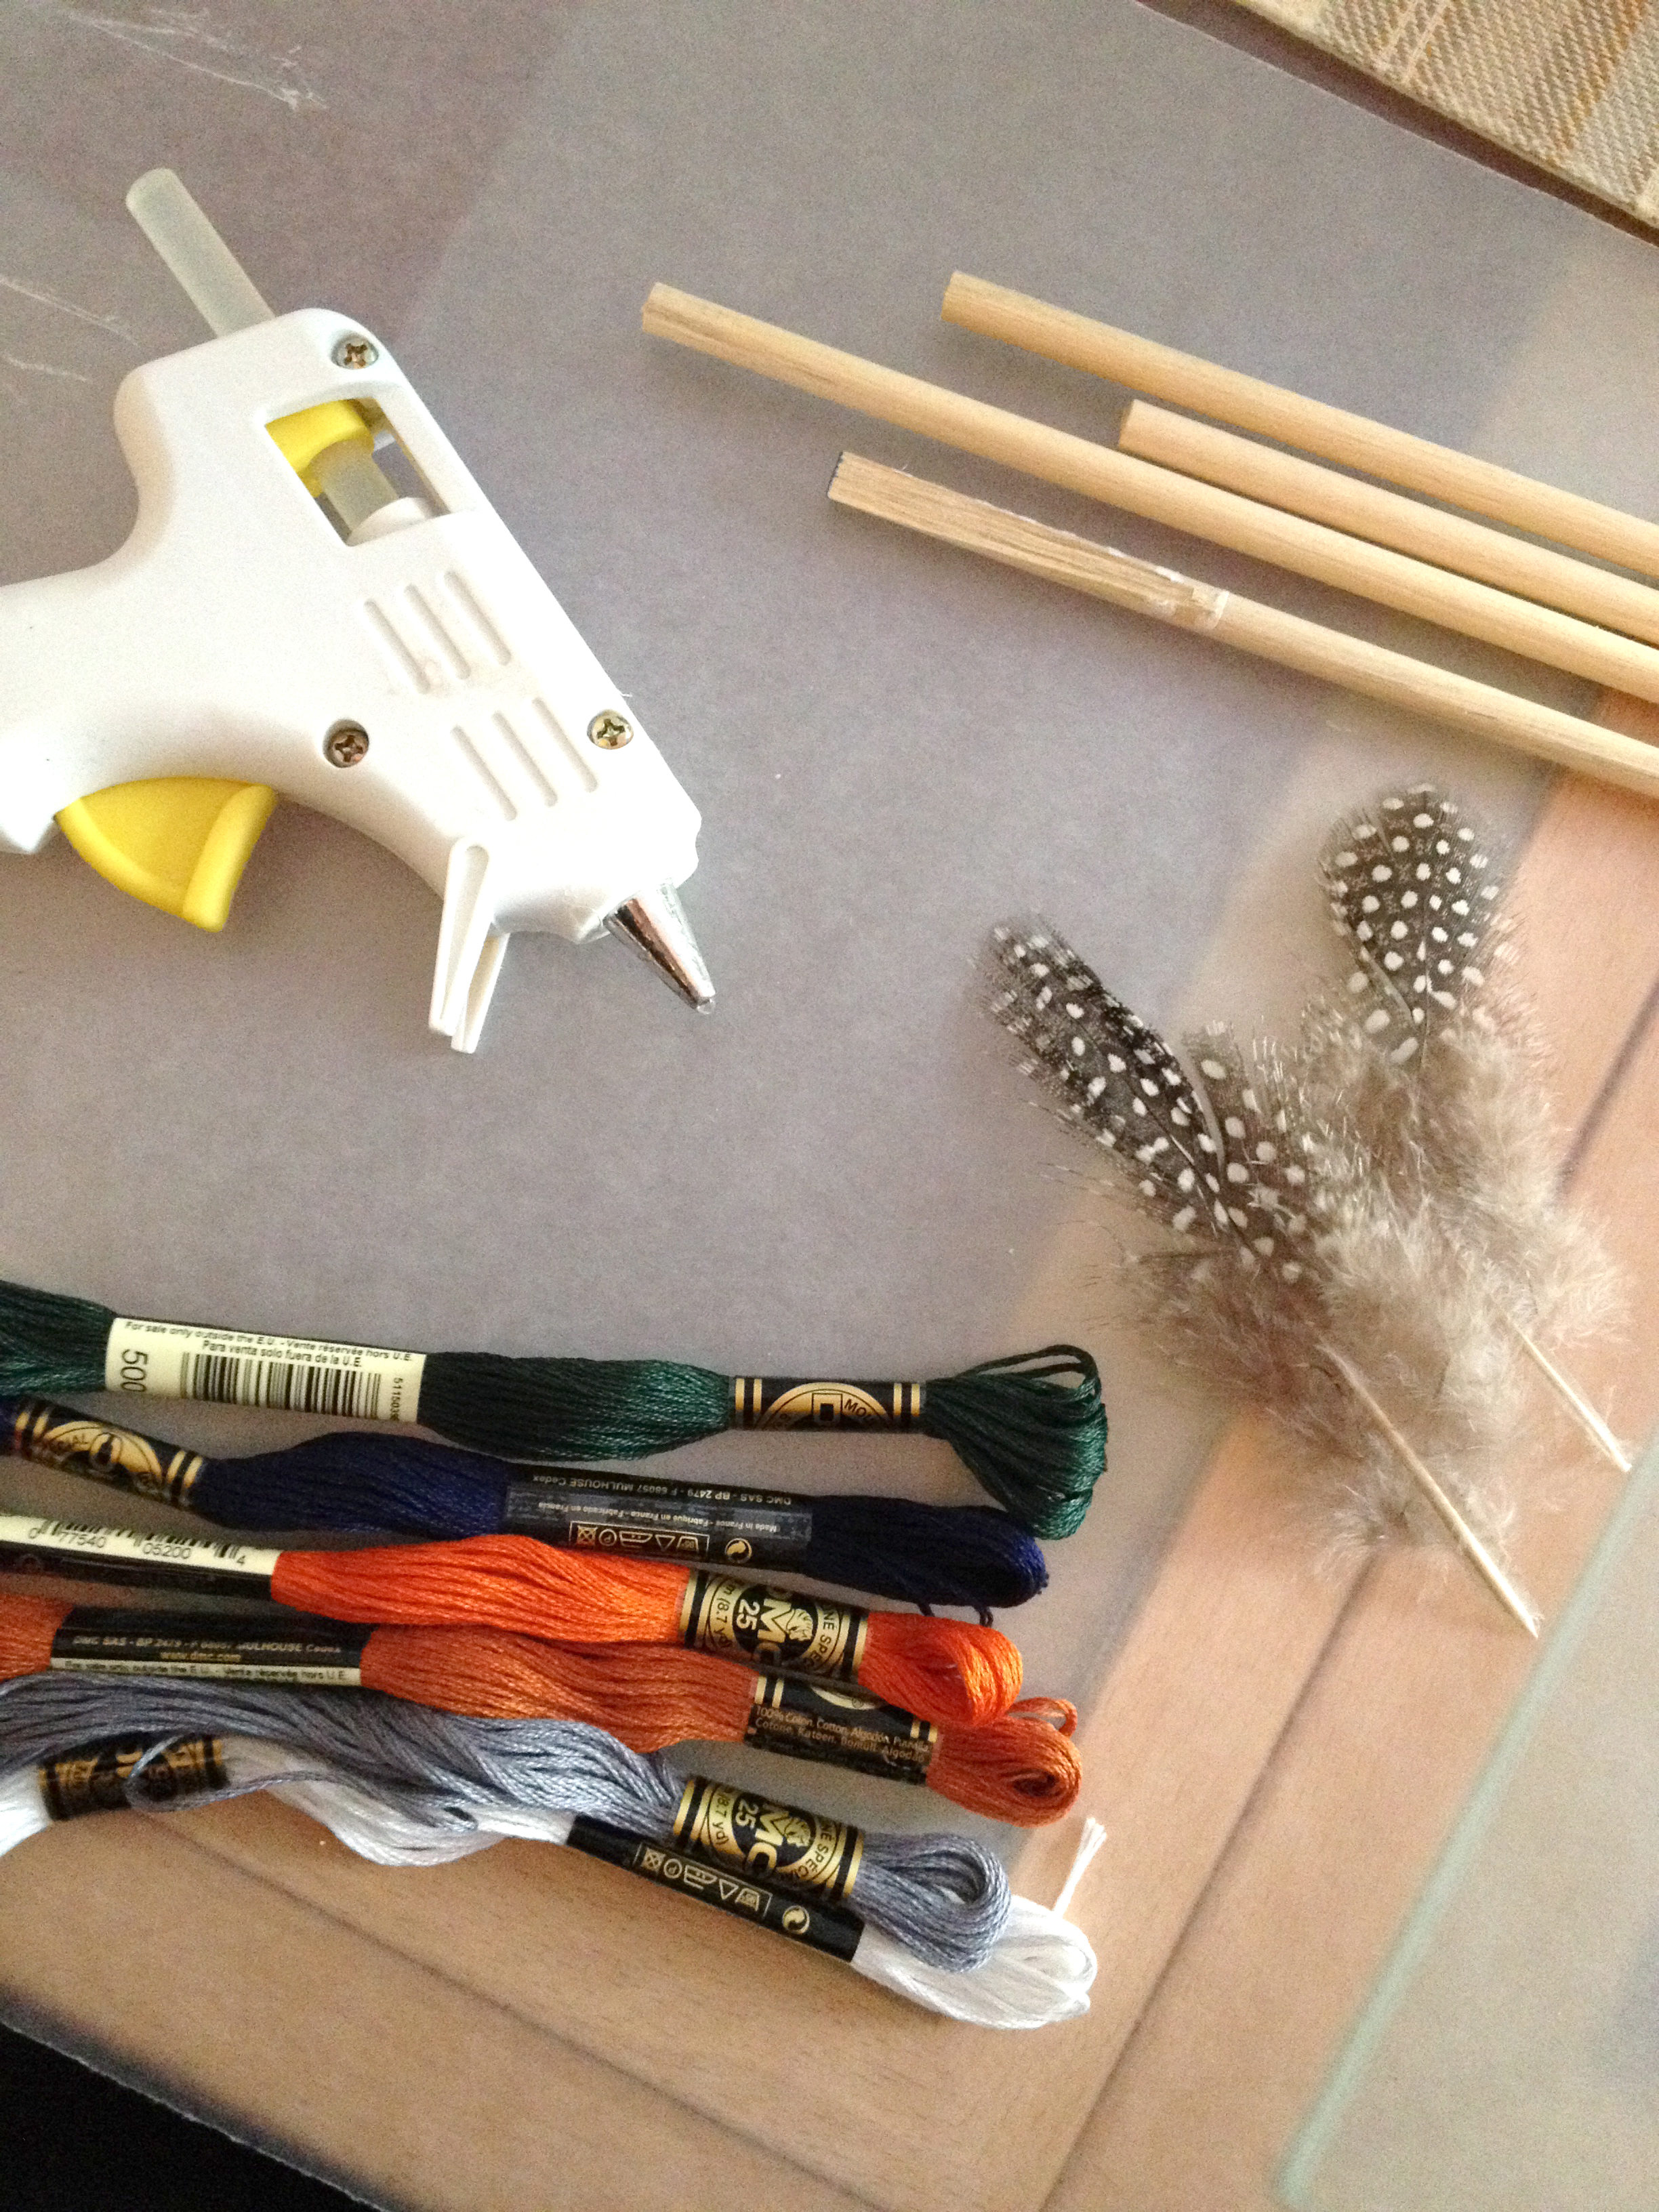
Cut the dowels in half using your box cutter (or an x-acto knife). Trim the ends of the feathers (I used three on each) then affix to the end of the dowel using the hot glue gun. After dried, use glue gun to adhere end of embroidery thread to the end of your arrow and wrap around over the feather ends. Continue wrapping and gluing with various colors. For the tip, cut off triangles from a wooden star. Color it in with gold Sharpie then attach to the end of the dowel using the hot glue gun.
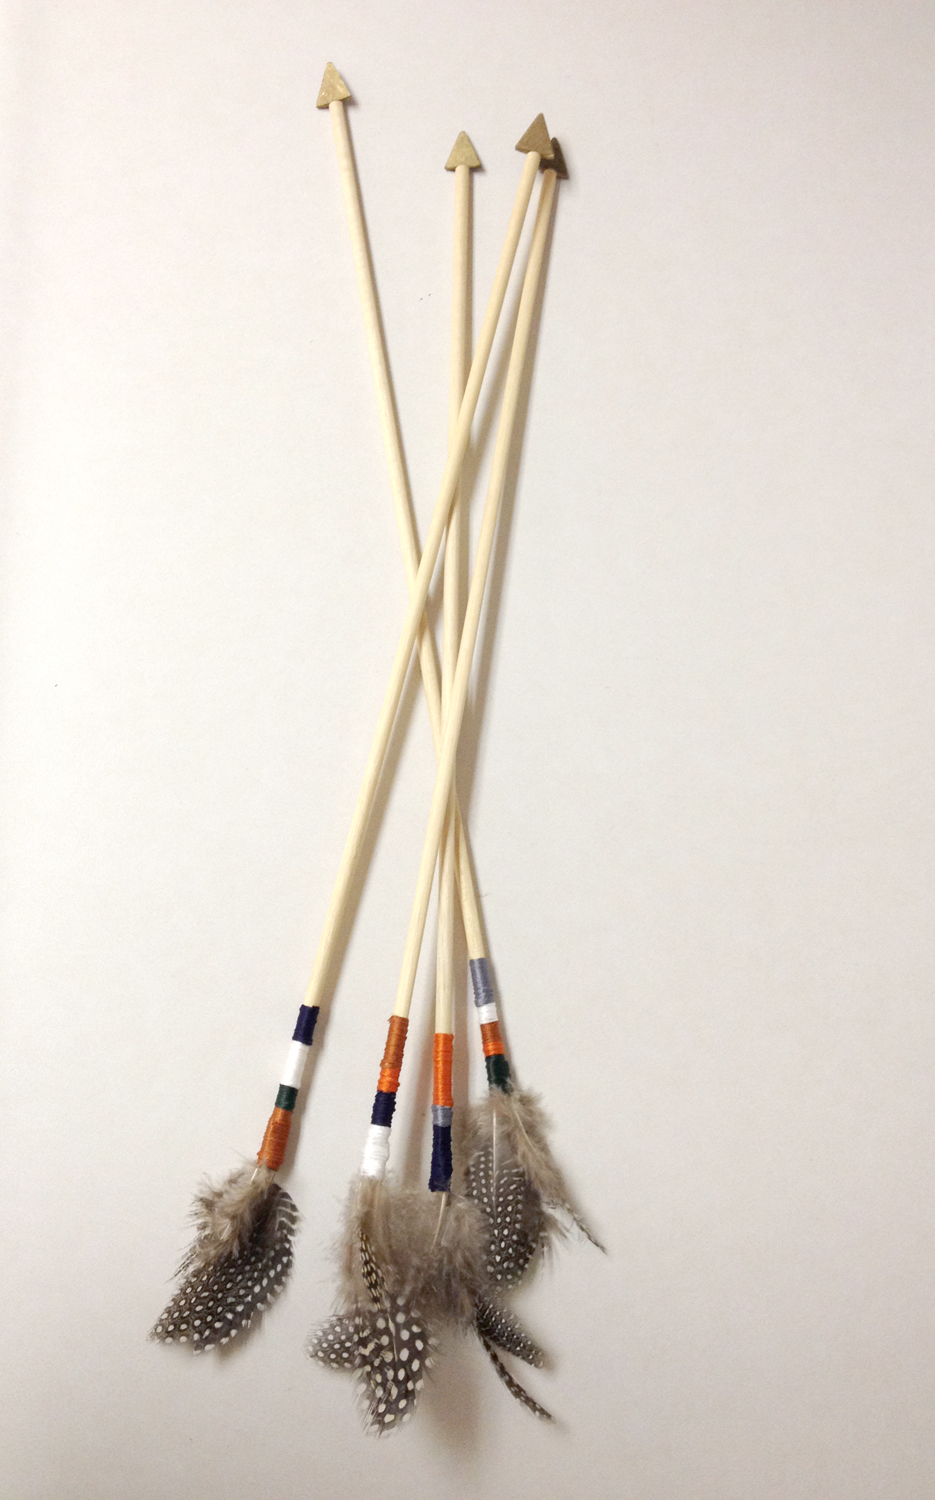
And voilà – you have yourself four DIY wooden arrows ready to be hung!

Great job Nicole ~ truly a work of love!